
Pre-Event Preparation and Setup


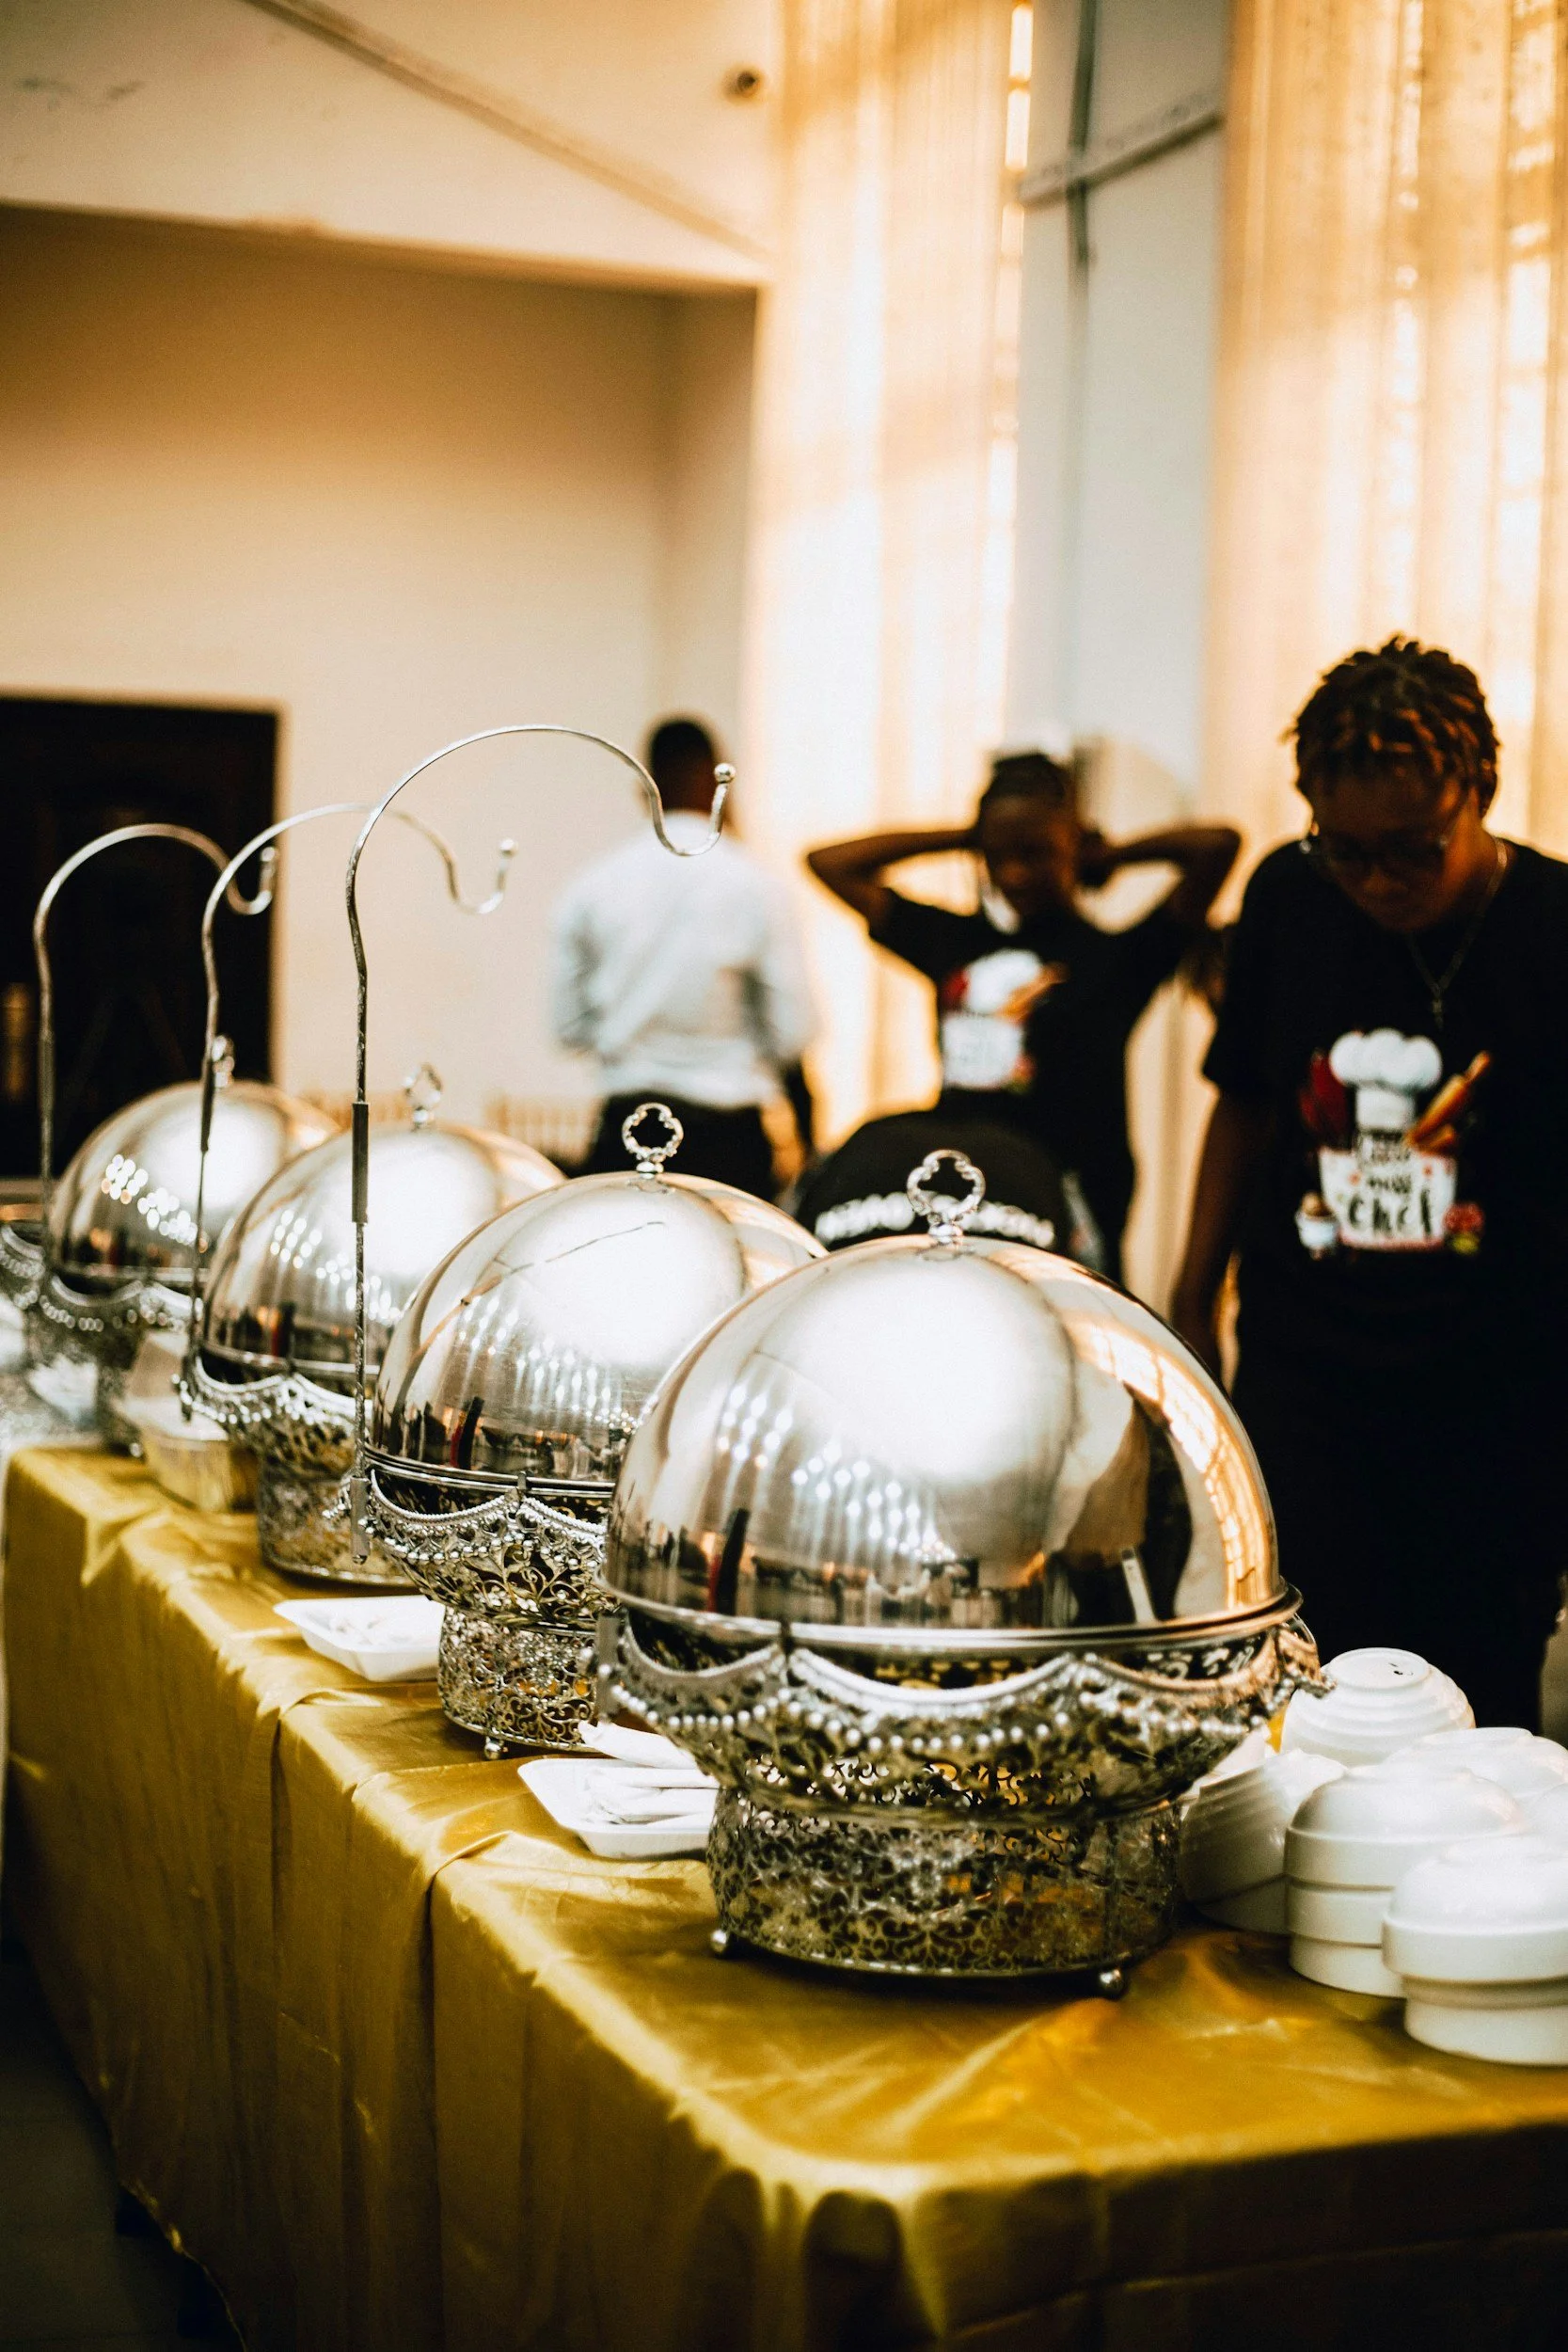
After reviewing, verifying, and organizing equipment and conducting a sanitation staff meeting, the sanitation captain must administer setup of the sanitation station(s).
Generally, in every setup of the sanitation station, the sanitation captain should:
Check flip-lid storage totes or containers, rack loaders and racks, and crates and bins to ensure these are empty of rental items and house items
Position floor protectors or painter’s paper on the floor to protect the venue
Ensure there is a dry mop, broom and dustpan, rags or cloths, and masking tape accessible to maintain sanitation station cleanliness
Set up any screens to prevent guests from viewing the sanitation station
Set up large tables and side tables that provide the workspace for sorting, stacking, and organizing equipment
Position crates and bins, garbage cans and bags, lexans or bussing pans with strainers (or spillage or water pans), empty rack loaders and racks, disposable boxes, and (if applicable) trays:
First, position the utensil bin so service professionals carrying multiple items can drop utensils and silverware first
Second, position the linen bin for the collection of linen or reusable napkins
Third, position the garbage cans (and extra garbage bags) for the disposal of dry waste
Fourth, position lexans or bussing pans (or, if necessary, spillage or water pans) with strainers for the disposal of liquid waste (separating liquid from dry waste)
Fifth, position rack holders and racks for the collection of glassware and dishware
Note: If dealing with multiple dishware stacks (e.g., in the event a service professional must manage both a charger and a top plate simultaneously), instruct the service professional to “pop” the plates by pressing a thumb on the corner of the plate, allowing easy separation and collection of the items by the sanitation staff
Sixth, set up a disposable broken glass box for the collection of broken glass or sharp waste
Lastly, position trays for the service team to use in transporting items
Account for the number of guests and the volume of equipment in duplicating the number of sanitation stations
If dealing with a large number of guests and substantial volume of equipment, increase the number of sanitation stations, entry points, and exit points
This said, there are different sanitation setups required for different service types: coffee service, buffet service, cocktail service and/or passed hors d'oeuvres service, plated service or American service, and hybrid service.
Setup for Coffee Service
Coordination
Before setting up for coffee service, the sanitation captain should coordinate with the event captain to confirm when coffee will be offered, where the coffee service station will be located, and the protocols for serving coffee and accompaniments. The sanitation captain is often responsible for coffee service stations.
Equipment and Testing
Next, the sanitation captain should organize all of the equipment in a designated area within the sanitation station, such that this is readily accessible. Common equipment includes:
Coffee percolators or brewers
Coffee carafes
Coffe cups
Tea spoons
Cream containers
Sugar and Sugar caddies
Coffee and tea selections
After organizing equipment, the sanitation captain should confirm with the event captain that there is an adequate and accessible power supply, such that brewing coffee will not cause an electrical overload or potential power outage.
Next, the sanitation captain should test the coffee percolators or brewers by filling them with water and ensuring they are functioning correctly. In the event of any issues, the sanitation captain should immediately arrange for replacements to avoid coffee service delays or disruptions.
Preparing for Service
One and a half hours before serving coffee, the sanitation captain should brew the coffee. To do this, the sanitation captain should (1) set up the coffee percolator or brewer for service (rather than simply for testing), (2) determine the number of cups and brew time required, and (3) determine the proper ratio of regular coffee to decaf coffee.
1.Set up the Coffee Percolator or Brewer
Typical steps involved in this process include:
Disassembling the coffee maker, removing the stem and the filter basket
Filling the water to the appropriate level without exceeding the fill line
Placing the stem and filter basket into the brewer, ensuring the stem is securely seated in the brewing hole that is seated at the bottom of the brewer
Adding the coffee grounds and spreading them evenly across the strainer
Securing the lid
Plugging in the brewer and turning on
Ensuring the brewer (once more) that the brewer is functional, such that it is pushing boiling water through the stem
2. Determine the Number of Cups and Brew Time
Typically, the following number of cups of coffee require the following brew times in a traditional brewer:
50 cups: Brew in 35 to 40 minutes
100 cups: Brew in 60 minutes
Speed brewers are generally able to brew 50 cups of coffee in 8 to 10 minutes and 100 cups in 16 to 20 minutes.
3.Determine the Proper Ratio of Regular Coffee to Decaf Coffee
The sanitation captain should brew enough coffee for all guests. A general guideline is to brew enough regular coffee to serve 75% of the guests and enough decaf coffee to serve 25% of the guests. There should also be enough hot water for those who prefer any related offerings (e.g., tea).
Finally, 10 to 15 minutes before serving, the sanitation captain should pour the coffee into the appropriate carafes. Pouring these into carafes sooner risks lowering the temperature too substantially.
To maintain the proper temperature, the sanitation captain should use insulated carafes or warming plates, brew the coffee frequently and in smaller batches, and check the temperature and quality of the coffee repeatedly.
Coffee preparation strategy depends directly on the service format and guest volume:
Seated & Plated Service: Coffee must be fully brewed and ready before service. The rapid, simultaneous demand at tables leaves no room for real-time brewing, making batch readiness critical.
Buffet & Meeting Service: Continuous monitoring is possible. Using 50–100 cup insulated urns allows the captain to check levels periodically and brew smaller, fresh batches to match the flow, provided high-speed commercial brewers are accessible.
Across all service types, the sanitation captain must utilize thermal retention (insulated carafes or urns) and perform periodic temperature checks to ensure heat and quality remain consistent throughout the event.
Setup for Buffet Service
Coordination
Before setting up for buffet service, the sanitation captain should (if applicable) coordinate with the event captain and/or buffet captain to establish the time that the food and beverages should be offered to guests, the location of food and beverage offerings, and any protocols for serving food and beverage offerings.
Equipment
Buffet service often involves managing a high volume of equipment. The sanitation captain must be prepared to receive this equipment and ensure there are proper receptacles for items. Common equipment includes:
Chafing dishes
Food inserts (and often, additional spillage or water pans)
Serving utensils
Specialty glassware
Specialty dishware
Specialty utensils and silverware
Carafes
Sterno and fuel
Preparing for Service
Before service, the sanitation captain should consider the storage of equipment. In this,
Designate a dedicated cooling area (for extinguished sternos to properly cool, never placing them directly in the garbage)
Store clam shell containers in a designated area (to easily access)
Line crates with crate or plate bags (to later seal off dirty plates)
Line food inserts and water pans with double bags (to prevent overflow, leaks, and excessive weight)
Line utensil and/or silverware bins with bags (to prevent loss)
Line the linen drop with a bag (to prevent loss) and, if not transparent, hang the corner of the napkin outside of the bag before tying it
Setup for Cocktail Service and/or Passed Hors d'oeuvres Service
Coordination
Before setting up for cocktail service and/or passed hors d’oeuvres service, the sanitation captain should (if applicable) coordinate with the event captain and/or the bar captain to review the expectations for offering beverages to guests, the location of bars and/or beverage stations, and any protocols for serving beverage offerings.
Equipment
Ice bins
Additional lexans or bussing pans (with strainers)
Bar tools (e.g., tins, bar spoons, jiggers)
Speciality glassware
Specialty garnish tools (decorative skewers)
Preparing for Service
Before service, the sanitation captain should:
Review the variety of glassware (to ensure different types and sizes can be properly identified, organized, handled, and stored)
Set up cambros and/or disposal bins with drop-in strainers (to allow separation of liquid waste and dry waste)
Set up a sorting bin for skewers (to ensure they do not puncture garbage bags)
Setup for Plated Service or American Service
Coordination
Before setting up for buffet service, the sanitation captain should (if applicable) coordinate with the event captain to confirm the time that food and beverages should be offered to guests, the location of food and beverage offerings, and any protocols for serving food and beverage offerings.
Equipment
Specialty glassware
Specialty dishware
Specialty utensils and silverware
Preparing for Service
Before service, the sanitation captain should:
Ensure the regular sanitation station setup can accommodate a sudden influx of glassware, dishware, and utensils and silverware during course transitions (to prevent delays)
Line crates with crate or plate bags (to later seal off dirty plates and allow easy transition)